Creating Styles in Microsoft Word
Training Connection run dedicated classroom based MS Word training courses in Los Angeles as well as onsite training countrywide. For more infomation call us on 888.815.0604.
In this article, we will learn how to create new styles from existing text and by using the task pane.
Creating Styles from Existing Text
One of the quickest and simplest ways to create your own custom style is to base it off of formatting that has been used for existing text in your document. Use your cursor to highlight the title of the current sample document:

Next, on the Home tab, click the More button () that appears within the lower right-hand corner of the Styles gallery:

From the menu that appears, click Create a Style:

The new style set will now have been applied to the current document:
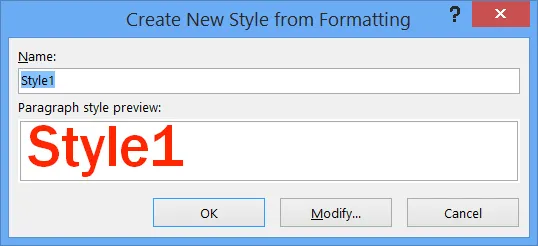
In the preview section of this dialog you will see that the new style you are creating is the same as the one that has been applied to the text you currently have selected. If you wanted to modify the attributes of this style you could click the Modify button; in this example that is unnecessary.
In the Name text box type “Module 9” and then click OK to create the new style.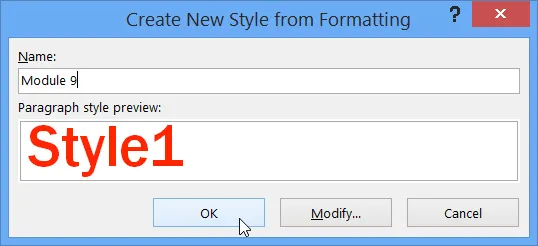
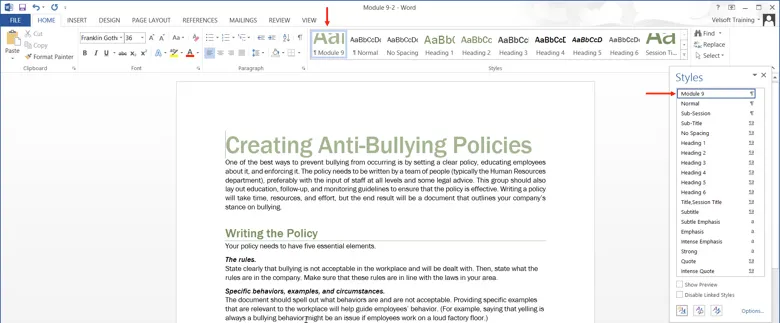
The new style that you have just created will now be listed inside the style gallery:

Creating Styles Using the Task Pan
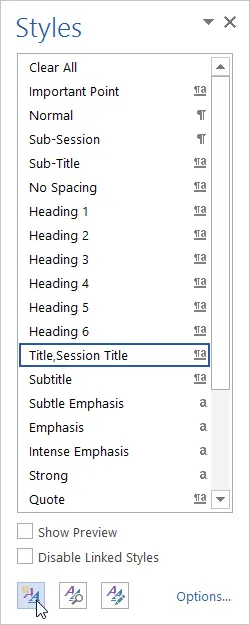
You can also create your own style with the Styles task pane. Open the Styles pane by clicking Home → Styles ():

At the bottom of the pane click the New Style button:
The “Create New Style from Formatting” dialog will now be displayed:
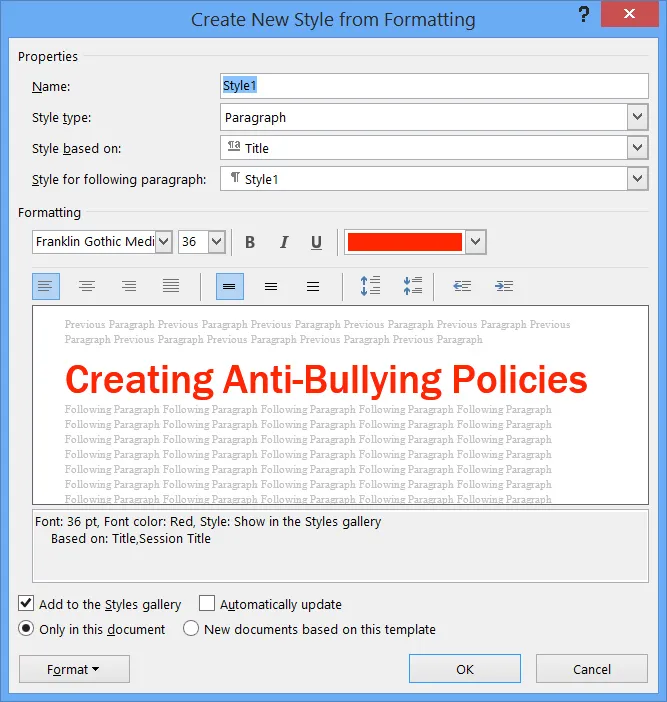
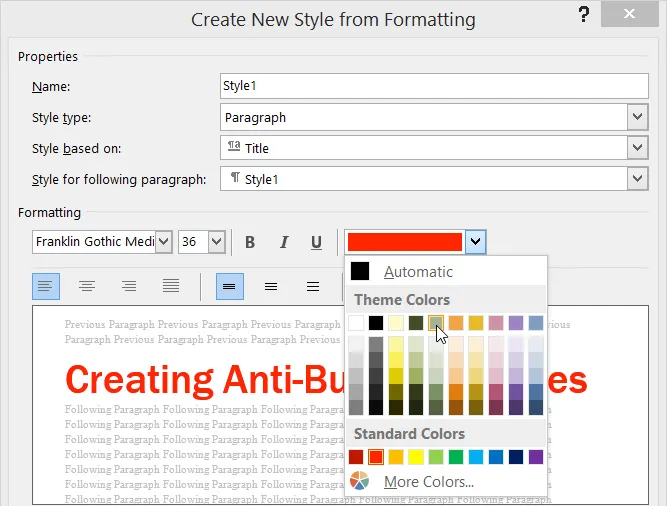
As your cursor was placed on the first line of the document, the style information for that text will be displayed. Using the variety of controls found on this dialog you can customize virtually any aspect of your style. For this example, use the color drop-down menu to choose a shade of green:
Next, give this new style a name. In the Name text box type “Module 9:”

Once you’re ready to create the style, click OK to save it:
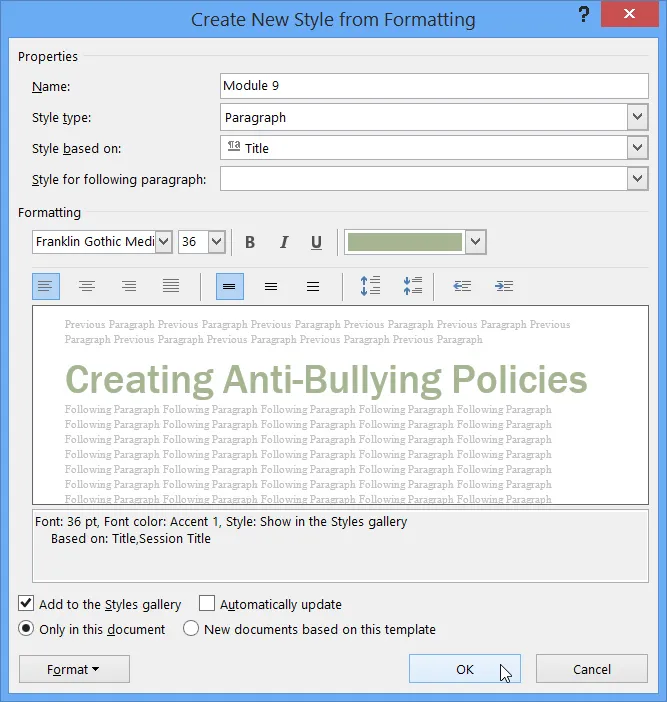
Your new style will now be listed inside the style gallery:
