Creating Milestones in Microsoft Project
In this article, will delve a little deeper into understanding tasks and creating miletones within Projects.
For instructor-led Microsoft Project training in Los Angeles call us on 888.815.0604.
Creating Milestones
A milestone indicates a significant event in the lifetime of a project. For example, the testing of a prototype could be considered a milestone in the sample project that we have been working with. Typically milestones are zero days in duration. There can also be multiple milestones for each project.
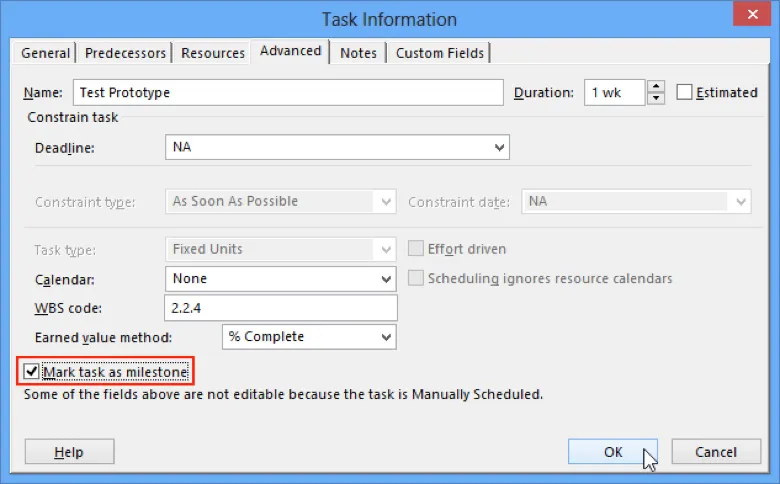
To create a milestone, first open the Task Information dialog for the task you would like to work with. For this example, open the Task Information dialog for the “Test Prototype” task (#24). Then click the “Mark task as milestone” checkbox under the Advanced tab. Click OK:

In the Gantt chart, you will see that the “Test Prototype” task (#24) now indicates that it is a milestone, with a diamond symbol and the date beside it:

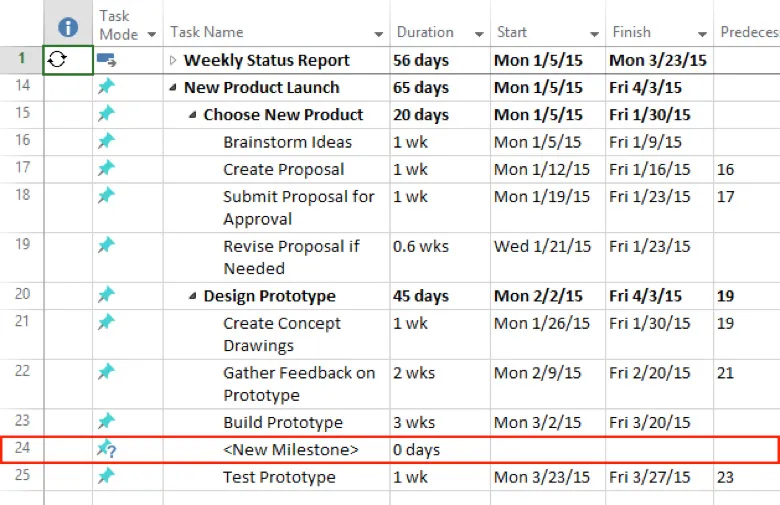
A milestone does not have to be based on an existing task. You can create a milestone from scratch by clicking Task → Milestone:

The new milestone will then appear on your task list where your cursor was last placed:

You may then type a new name for this milestone in the field provided.
Setting Deadlines
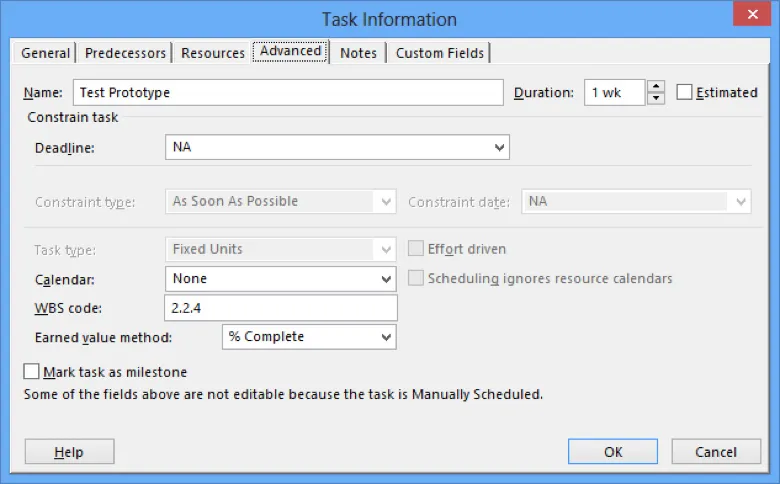
You can use the Advanced tab in the Task Information dialog to set a deadline for a particular task. Open the Advanced tab of the Task Information dialog for the “Test Prototype” task (#24):

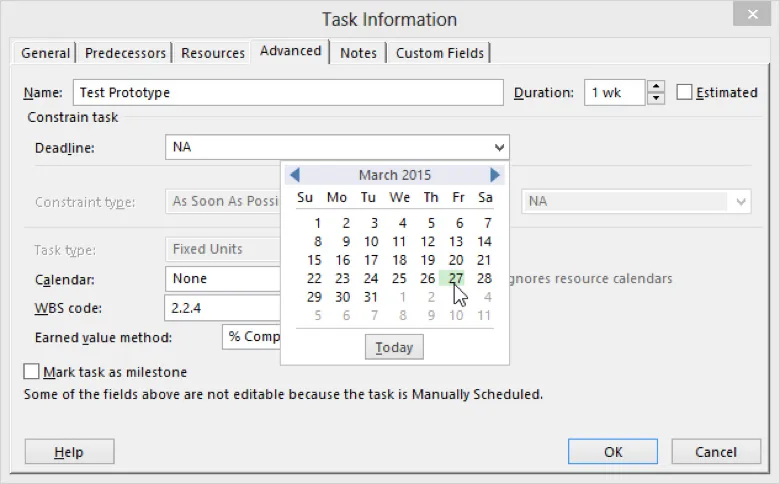
To set a deadline, use the Deadline drop-down menu (or enter a date directly) to specify the date that this task needs to be completed by. For this example, choose March 27th, 2015:

Click OK:

Once a deadline has been applied, it will be indicated with a green arrow:

Close Microsoft Project 2013 and save your changes.
