Working with Permissions in Excel
The following tutorial introduces you to the Information tab on the Backstage View. You’ll learn about marking a workbook as final, which makes the workbook read-only. You’ll also learn about permissions - both encrypting the workbook with a password and restricting permissions. This tutorial explains how to protect both the current sheet and an entire workbook’s structure.
For MS Excel training classes in Los Angeles call us on 888.815.0604.
Marking Worksheet as Final
To mark a workbook as final, use the following procedure.
- Select the File tab from the Ribbon to open the Backstage View.
- Select Protect Workbook.
- Select Mark as Final.
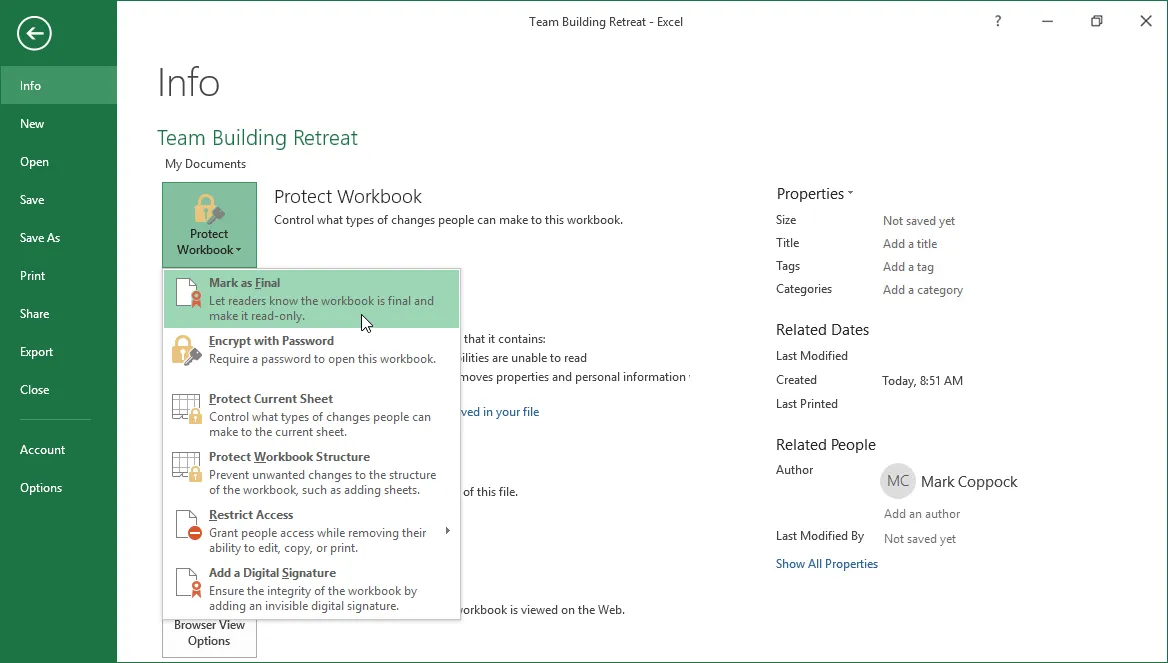
- Excel displays a warning message. Select OK to continue.
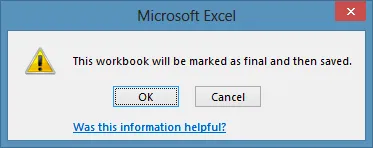
- Excel displays a warning message. Select OK to continue.

Notice the yellow bar at the top of the workbook to indicate that the workbook has been marked as final.

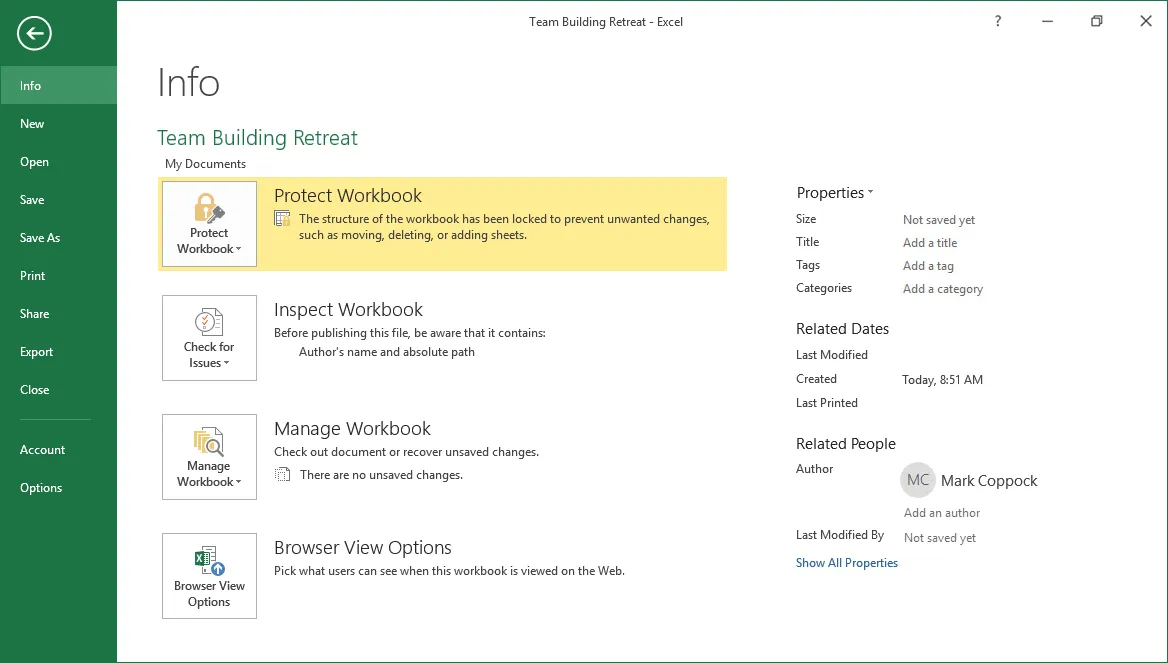
Notice that on the Info tab on the Backstage View, the Permissions area has changed.
Encrypting with a Password
To encrypt a workbook with a password, use the following procedure.
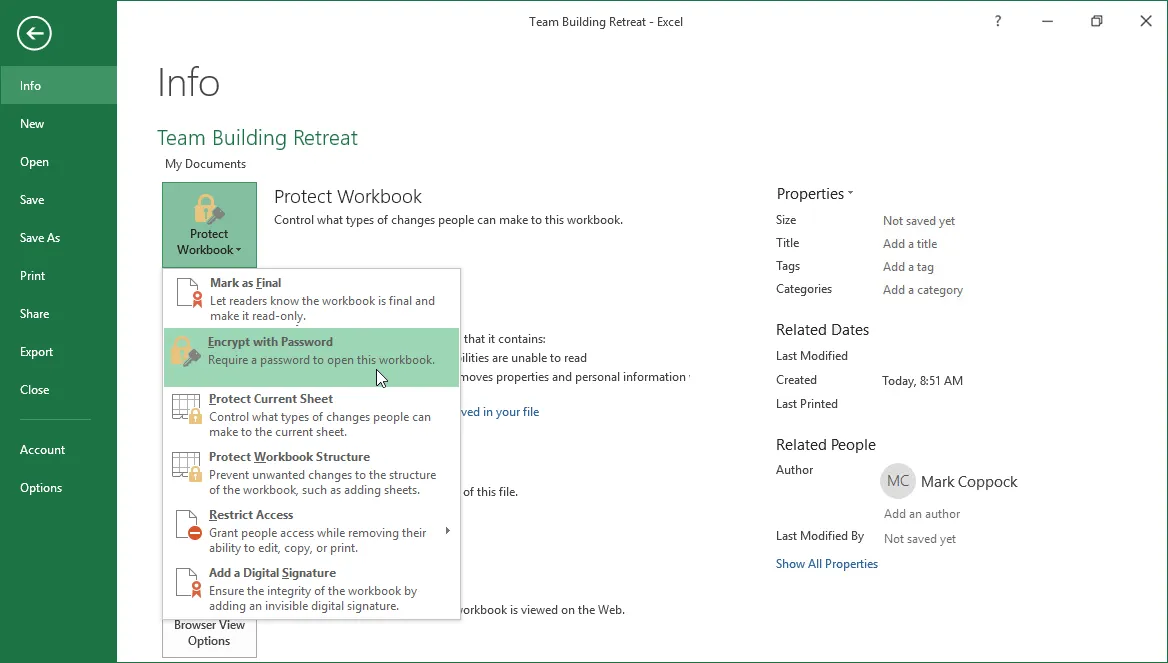
- Select the File tab from the Ribbon to open the Backstage View.
- Select Protect Workbook
- Select Encrypt with Password.
- Excel displays the Protect Sheet dialog box.
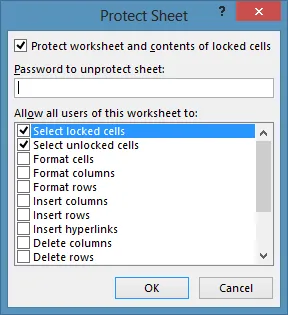
- You can enter a password if desired to unprotect the sheet.
- Check the boxes for the actions that you want to allow other users to perform on the sheet.
- Select OK.
To protect a workbook structure, use the following procedure.
- Select the File tab from the Ribbon to open the Backstage View.
- Select Protect Workbook.
- Select Protect Workbook Structure.
- Excel displays the Protect Structure and Windows dialog box.
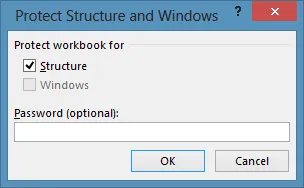
- Check the boxes for the options you want to protect.
- You can enter a password if desired to unprotect the workbook.
- Select OK.
